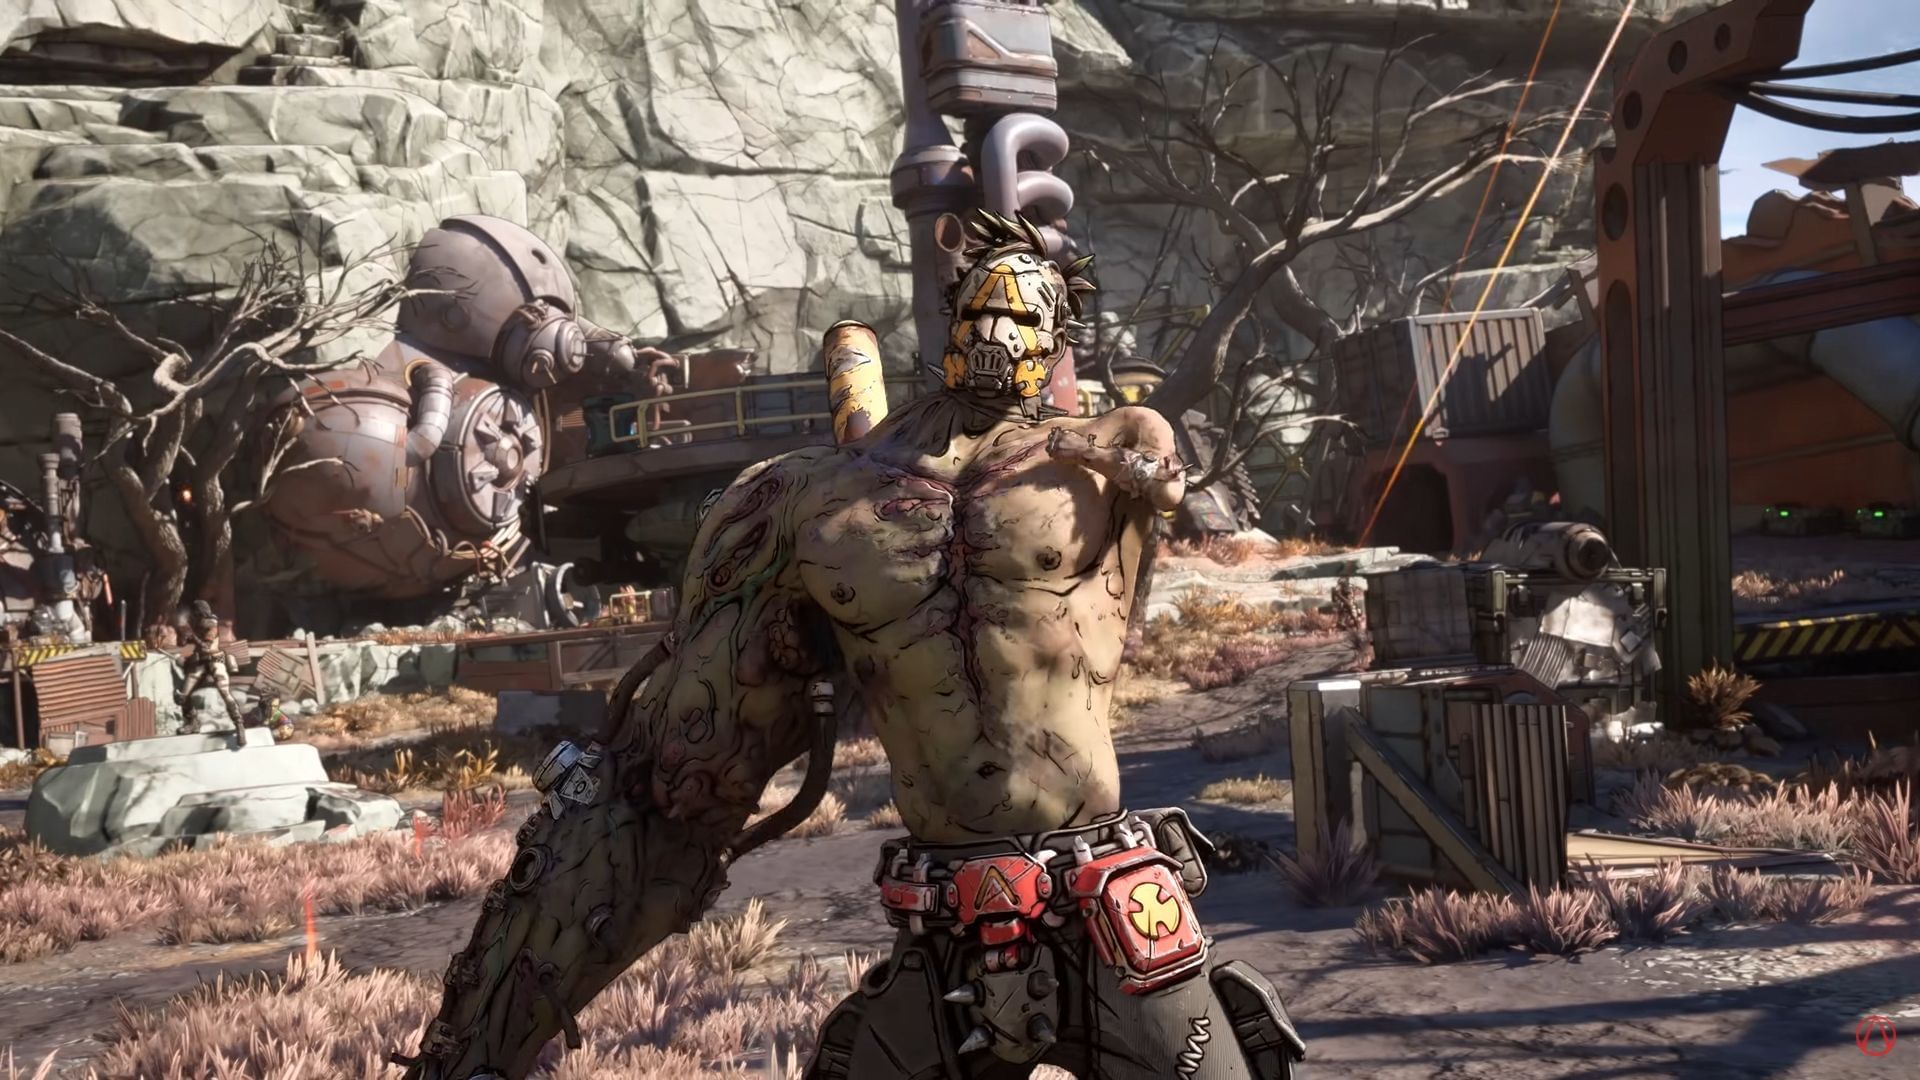
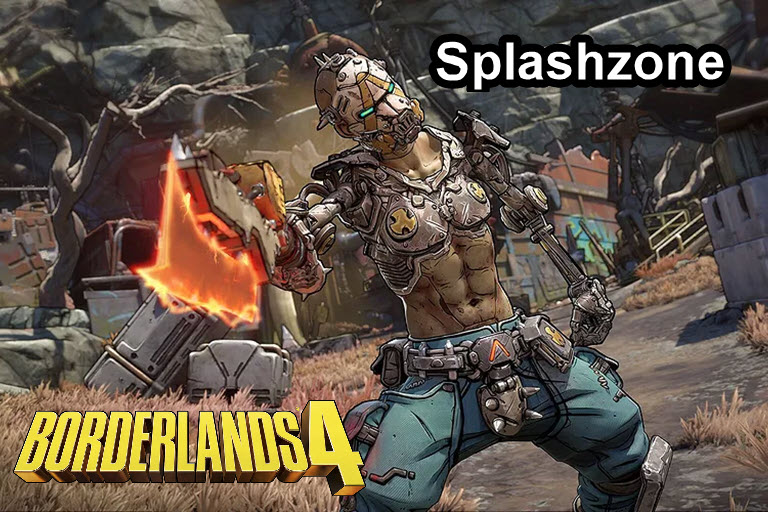
Splashzone is that second boss in Borderlands 4 that sneaks up on you right after the tutorial crap—total pushover if you keep your distance, but he’ll clown you hard if you let him get close with that massive club!
Where he’s at

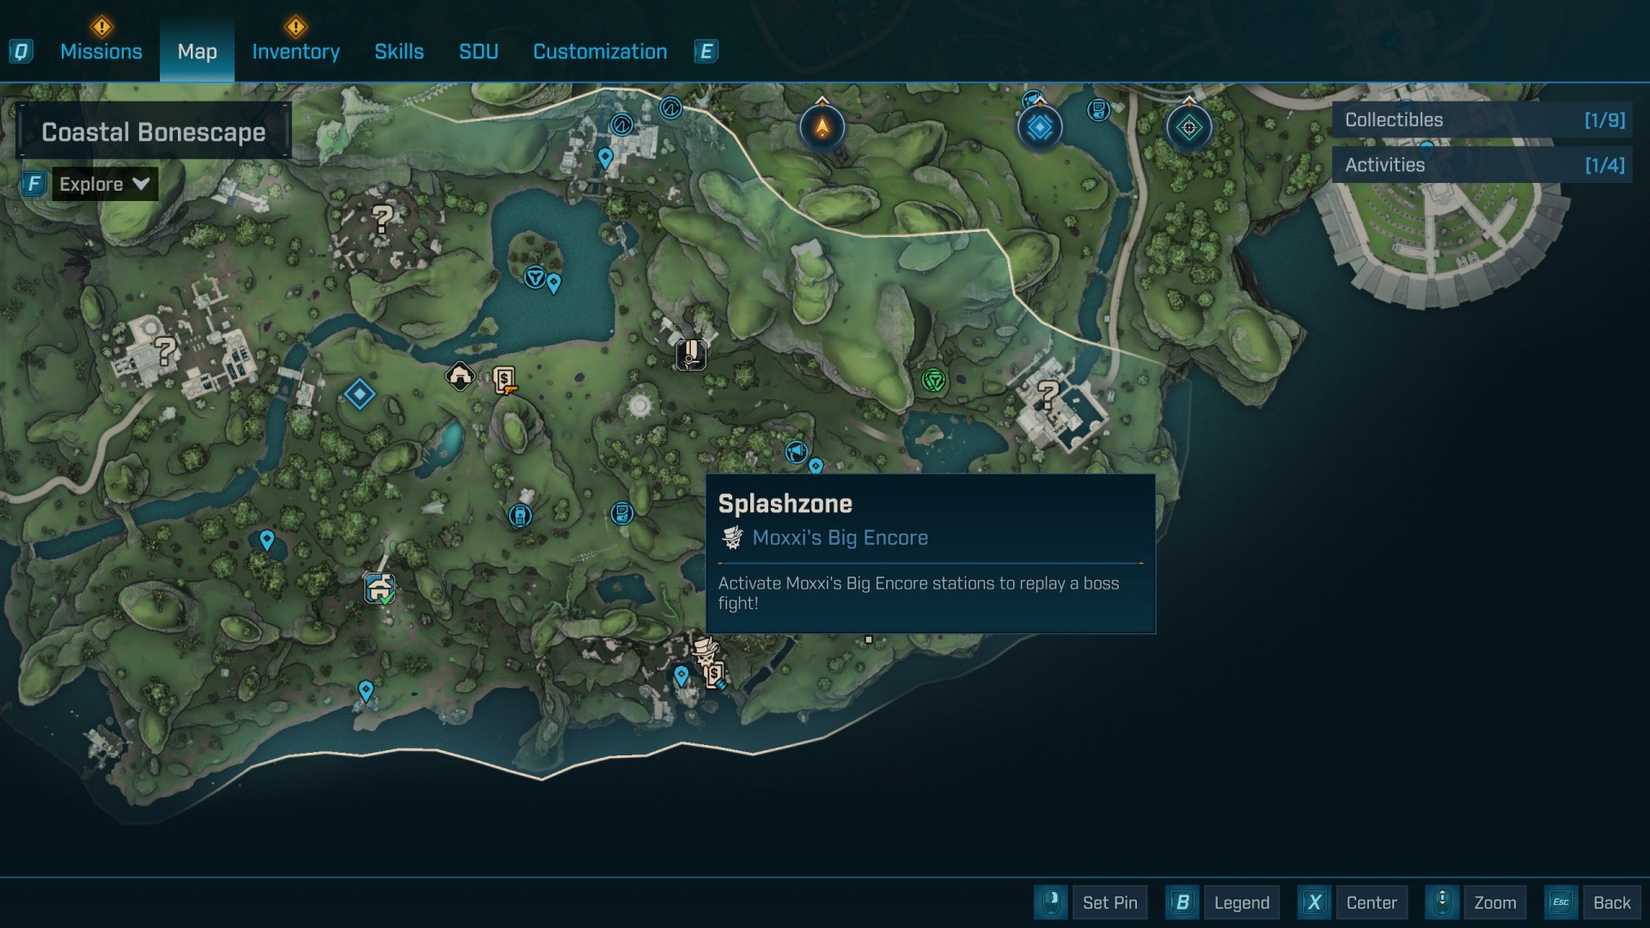
Riptide Grotto in the Coastal Bonescape area, bottom-right-ish of the Fadefields map (southwest coast overall). Fast travel to Stockroom Order Silo or Abandoned Post, glide/grapple down—arena’s across a broken bridge in a Ripper bandit camp (central tower spot). Moxxi’s Big Encore machine is right outside for farming later.
Prerequisites
Beat the prologue (Guns Blazing/Warden Scathe). It’s the main story mission “Recruitment Drive” from Claptrap. You’re ~level 4-5 by then (scales a bit). Grab incendiary guns if you can—his flesh health bar hates fire. No fancy skills needed yet, but you’ll get Glide Pack right after winning.

How to get there (quick run)
- Finish Guns Blazing, wake up on the beach with Claptrap in Coastal Bonescape.
- Head to first Ripper camp—clear trash mobs, loot vending machines/throwables.
- Push through to Riptide Grotto (grappling/climbing around cliffs). Stock up at the vending machine by the broken bridge.
- Jump the gap—fight auto-starts. (Pro tip: Circle left around outer cliffs for easier path, ignore most adds if farming later.)
Fight tips and moves

This guy’s a jacked Badass Psycho with a huge arm/club and random element (fire/shock/etc. each run—watch for his color). Only flesh bar, no shield/armor, so Incendiary > Kinetic/Cryo/Radiation > anything else. Headshot city—stay mid-range, kite forever. Arena’s tight but has boardwalks/ledges around the tower for dodging; lure him back there for space. Clear adds quick (Rippers spawn from doors), leave one low-HP for Second Wind.
| Attack | What it is | Dodge it like this |
|---|---|---|
| Club melee swings/slams | Horizontal sweeps, overheads, combos—his main thing. neoseeker.com | Backpedal + strafe/double-jump. Never let him touch you. |
| Running charge/spin | Rushes twirling club, might dizzy after. mentalmars.com +1 | Sidestep, then unload headshots on recovery (free crits). |
| Elemental trail | Leaves damaging puddles/beams behind as he moves. neoseeker.com | Circle wide around arena—don’t step in ’em. |
| Elemental shot/orb | Rare ranged projectile lob. neoseeker.com | Dodge sideways, easy to avoid. |
| Weapon throw | Chucks club if you’re far. sportskeeda.com | Strafe/jump. |
| Elemental grenades | Tosses bombs. sportskeeda.com | Keep distance, backtrack—they don’t chase. |
| Adds (Rippers) | Minions swarm from doors. thegamer.com | Headshot priority, but save one for FFYL. |
Overall play
Kite in open area or loop the tower/boardwalk—use explosive barrels to nuke him/adds. Rhythm: back up → headshot → dodge spin/charge → clear 1-2 adds → repeat. He’s fast but predictable; greedy melee is death. On Hard+, his element hurts more, so swap guns if he’s fire (avoid Incendiary then). Farm loop: Jump back over bridge, hit Encore machine (cash cost), repeat—sells loot pays for itself. Super easy farm for legendaries like Firewerks shield, Lead Balloon grenade, Jelly ordnance.
After the kill
Loot his corpse/chest (Ripper Key for story), grab Glide Pack tutorial. Head back to Resistance HQ with Claptrap. Come back anytime for god rolls—scales forever! Sweeet!


